Sorry for the lack of posts. Busy visiting grankids and crafting. Hope to catch you all up soon!!
Monday, September 19, 2011
Thursday, April 28, 2011


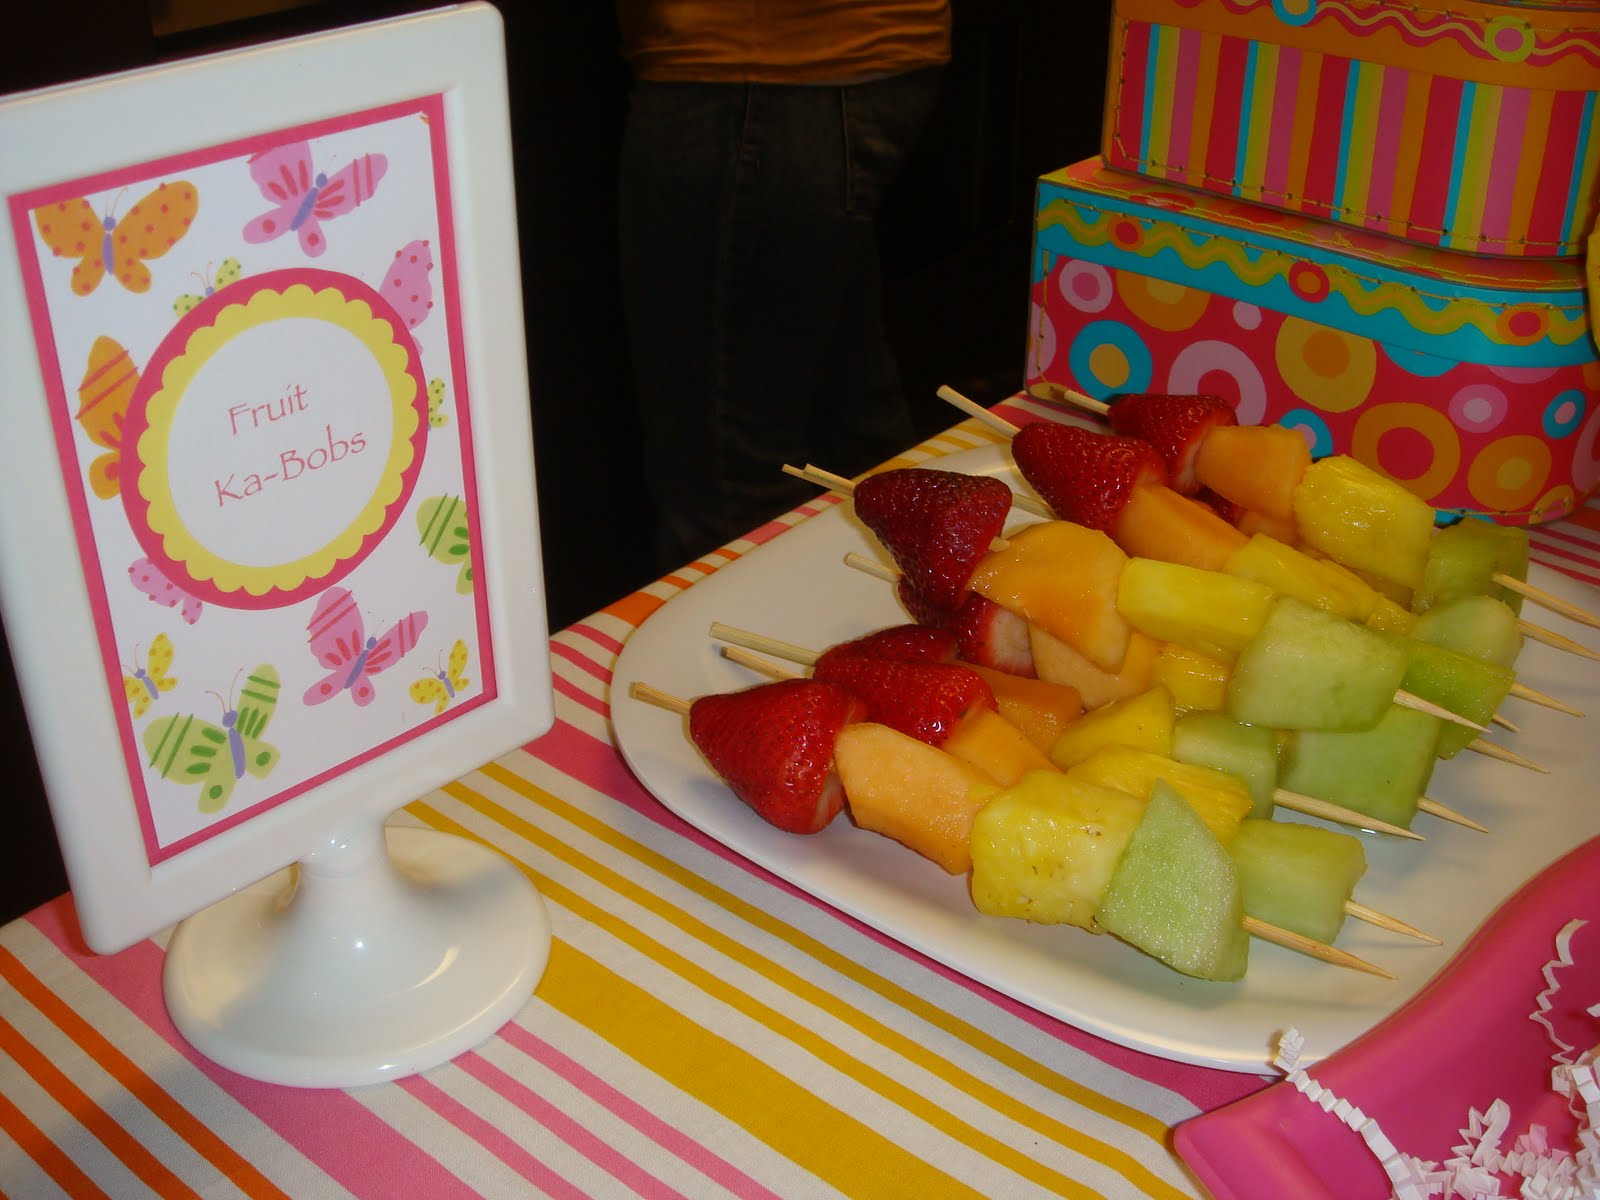


Party for Loraya in West Virginia
 We had 3 tables that we decorated for the party. The eating table which had butterfly wings at each seat and their own cupcake stand with their cupcakes on them. We also had pink lemonaid in mason jars with striped straws with butterflies on them. Butterfly noise blowers were fun for the girls to blow at each other. We also had a yellow polka dot table cloth covering the table. Assorted paper lanterns with butterflies on them were hung above the table and all over the place.
  The food table had a brightly striped table cloth on it and simple food items displayed on cute trays and plates. Butterfly cheese shaped sandwiches, popcorn, cake pops, jello cups, veggie cups with ranch and a cute picture of Loraya made the table complete.
  The favor table was my favorite. A pink table cloth was on the table and each girl got to take home their goodies from the day. Colorful buckets with their names on them were decorated by Loraya for the party. They got to have many cool things to take home. A butterfly net was put in the tall pink metal flower bucket with a large "L" on it. Sunglasses, bubbles, nail polish, lip gloss, butterfly suckers, stickers, books, bracelets, stamps etc all with the butterfly theme were a big hit. The girls decorated a pair of flip flops to take home also.
  The pink curtains were put up for the backdrop which added to the charm of the party. So cute with the walls a bright yellow! We really worked hard to get everything up by Thursday night because the party was Friday at 11:00am. It was a good thing that we planned ahead because the day of the party I got the flu and was in my bed all of Friday and missed the big party!! I could hear the girls having fun in the other room so that was fun to hear them get excited about everything. I will post more pictures so you can see more of the decorations. ENJOY!
Saturday, February 26, 2011
Welcome New Grandbaby #14 Vann Michael Bennion
 We did not have the crib yet for the new baby so we made do with my carry on suitcase for 1 night until the mini crib arrived. We had to do the same thing with our first baby Matt because he came a month early and we didn't have a crib yet. Matt slept in a dresser drawer!!
  Getting ready to go home!

On February 5th Kandis gave birth to Vann Michael Bennion. Weighing in at 7 pounds 5 ounces and 19 1/2 inches long. A real cutie! Looks just like his father Nic and such a sweet calm baby. Nixon loves him and doesn't seem to mind having another person in the house. Kandis looks great and is such a sweet mom to both of her boys. This picture the first time Nixon met his little brother Vann. Precious
Birthday party part 3
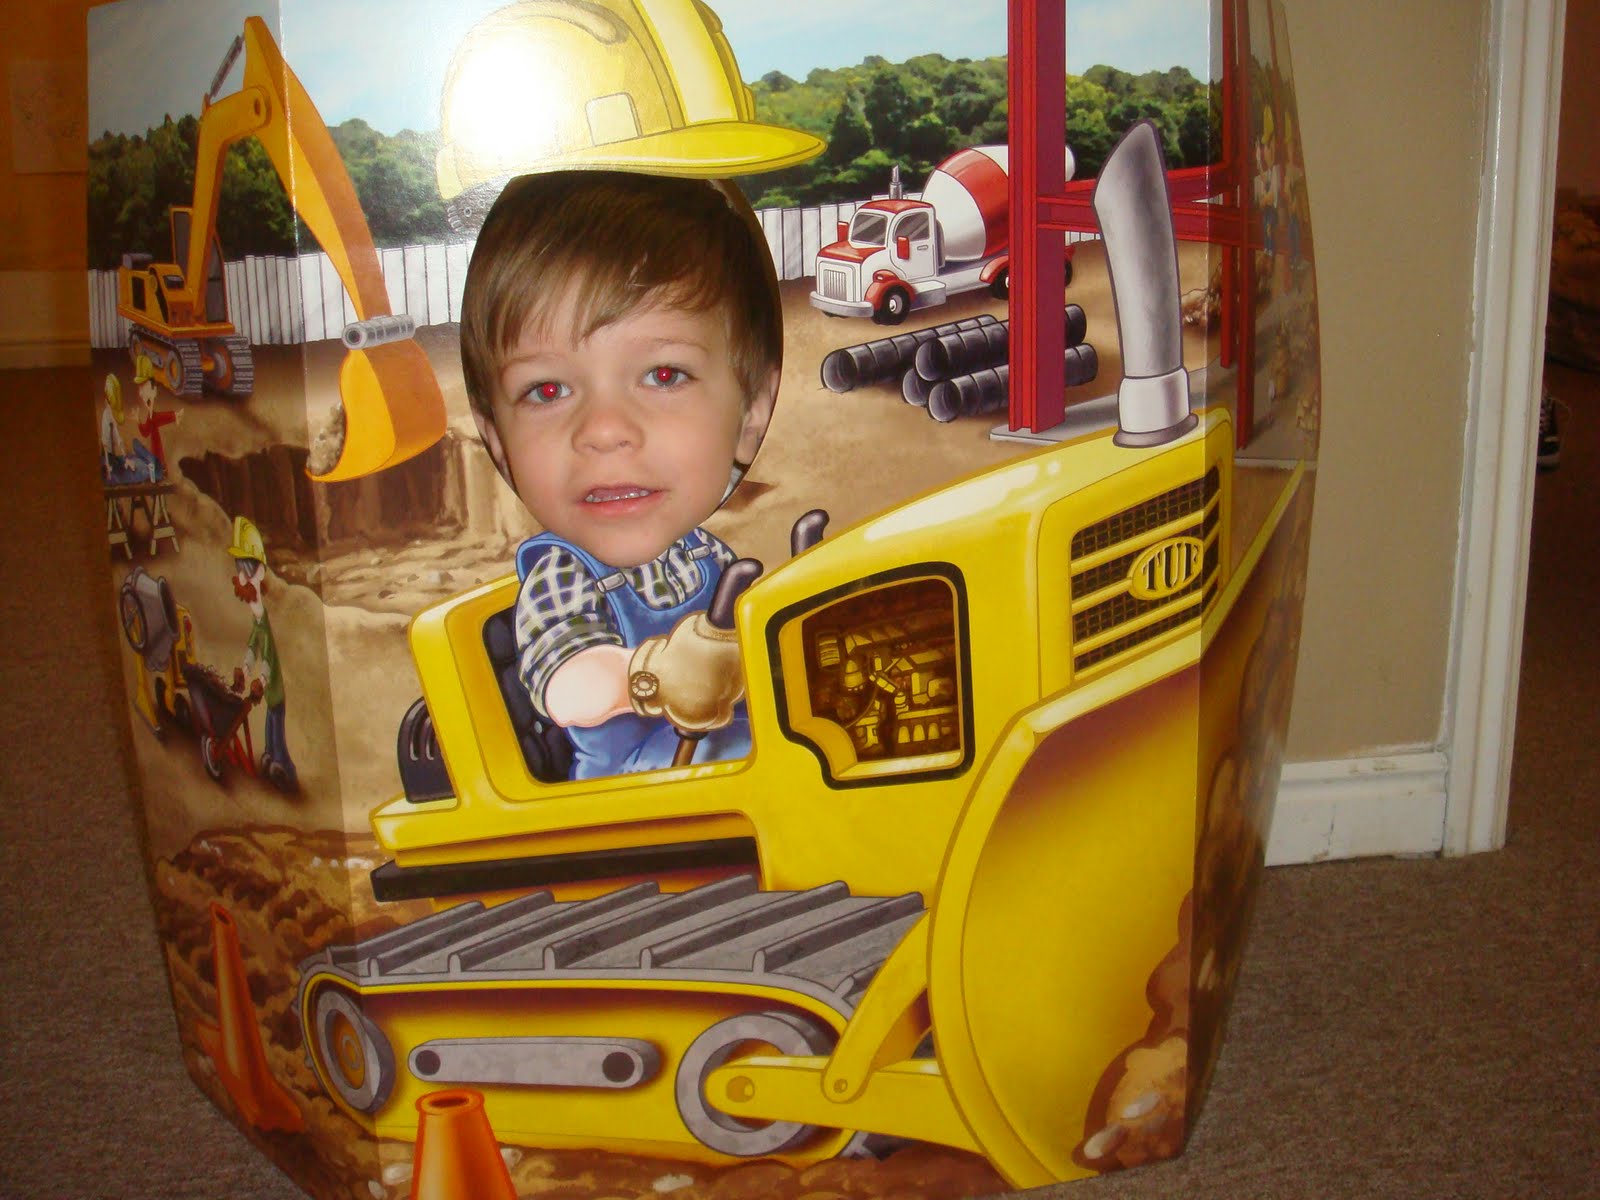
 We had a poster to take pictures with so the kids and adults could put their heads into the hole and look like they were riding a tractor. Here are just a few of the pictures of Nixon,


Birthday party part 2
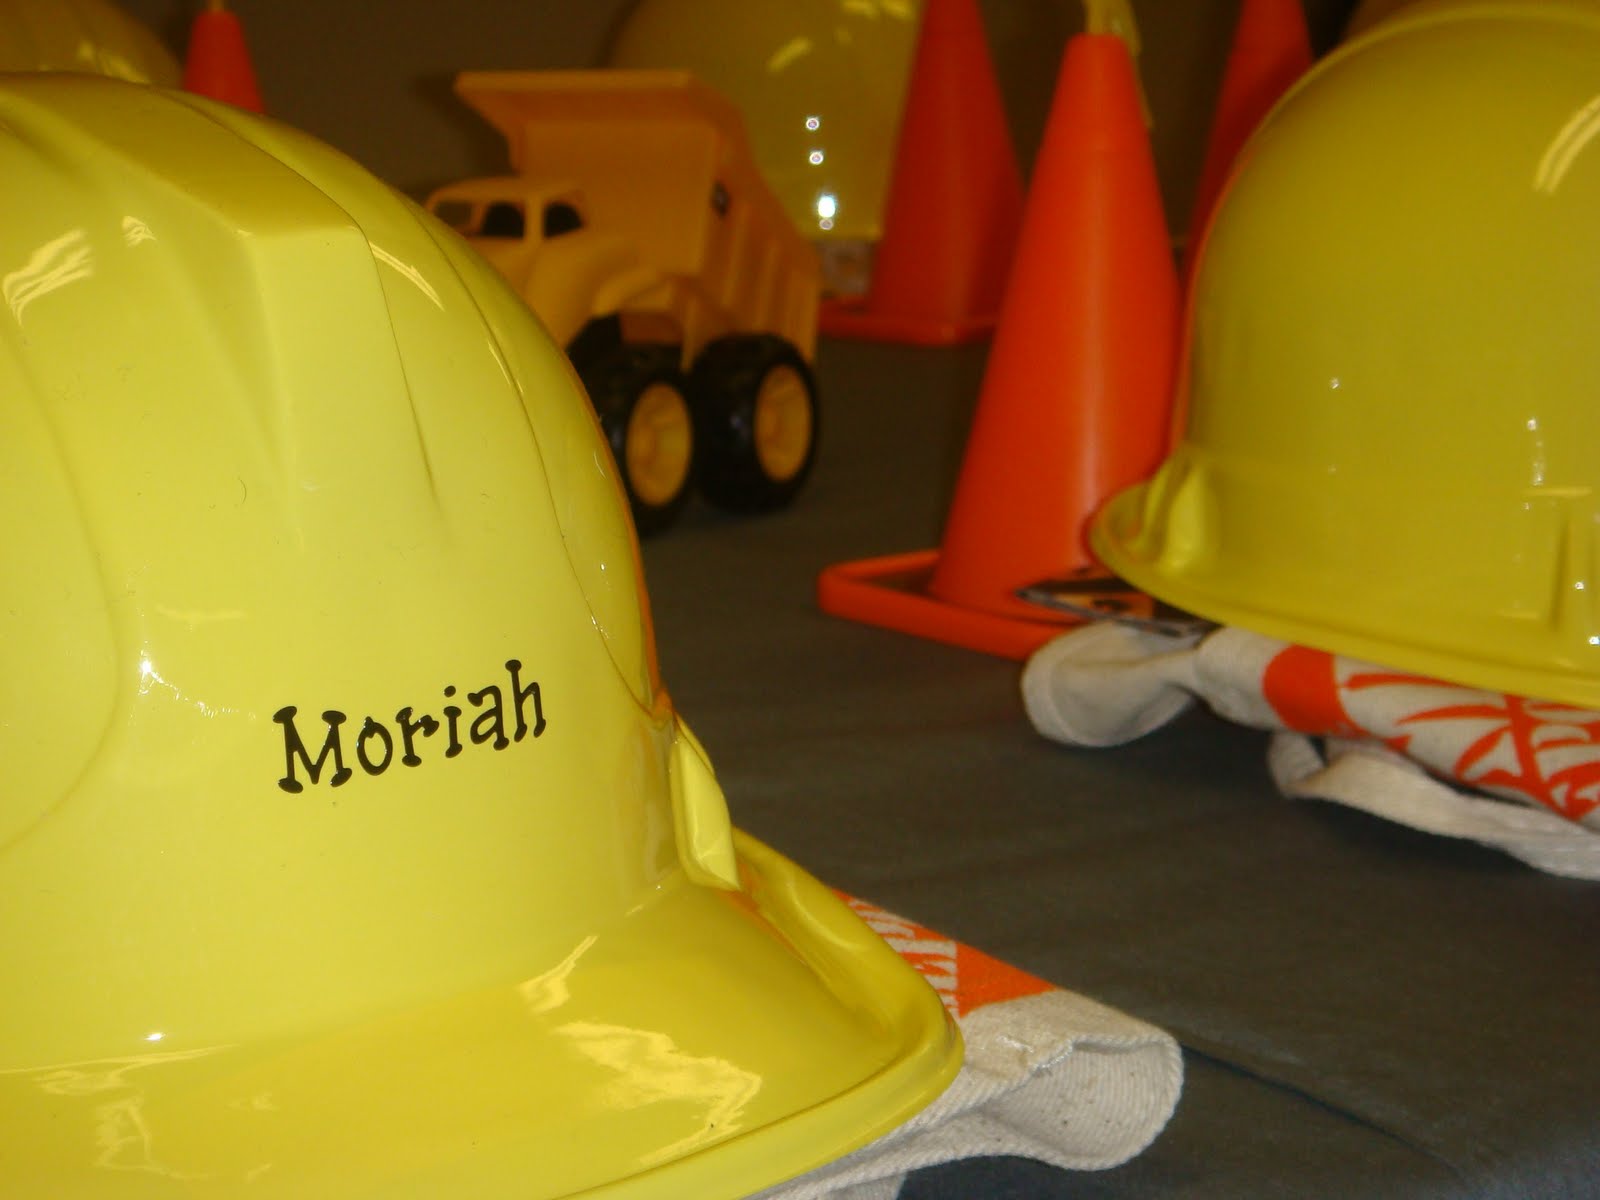 We had a place for the kids to eat that had their hard hats with their names on them, their home depot tool belt full of fun plastic tools and then they had a construction cone cup to drink out of. The table was covered in grey fabric and was set low for the two year olds to stand and eat.
  I got these home depot tool pouches for 77 cents each and the kids loved them! I could not have made them for less than that.
 This is the thank you table that the kids saw when they came into the party. The little metal pails are full of goodies that I made for them (truck crayons, chocolate truck suckers, gummy tools, stickers, activity book, small truck, fabric pouch made by my friend Cindy! The polka dot bags were for the goodies in the pails to fill up before they left and take with them. The parents loved the goodies too! I just loved the picture of Nixon with a construction cone on his head. He is so funny and cute!
A Party to Remember! Part 1
 Nixon had his 2 year old birthday while I was visiting in Utah and we did a construction themed party since he LOVES anything trucks!! You can see by the pictures that we used his toys for decorations and had simple finger foods for the guests to eat. I made a mini banner to go over the cupcakes and we put Nixon's cupcake in a mini truck to make his special.

 We have mini orange construction cones that are actually candles on the table as well. The white signs are from Ikea and can be changed with whatever party you are having. We had a room for the kids to color pictures and then we did a tractor pinata filled with toys and goodies that they put in their home depot tool belts. It was so much fun!!
Sunday, January 30, 2011
I've been busy lately
 This month has been busy with having ladies over to do crafts and learn new things together. We had a group over Saturday and we did gourmet apples for valentines day and then I had some left over chocolate to play with. I saw a great idea on a blog and decided to try it. First you put a layer of pretzels on a cookie sheet covered in wax paper. Don't worry about making the pretzels in a single layer, it doesn't matter if they overlap each other. Melt chocolate, white or dark and get ready to drizzle over the pretzels. Sprinkle valentine M & M's over the top, sprinkles and what ever you have to make it festive. I used mini chocolate chips, a heart sprinkle mix that I got at Walmart and anything else that I could find. Let cool and then break up into pieces and put into a zip lock baggie. So easy and so yummy. Kind of pretty too.
  These are dollar store frames that we mod podged over the top with scrap book paper and then put glittered letters in the holes to spell words like Kiss, hugs, xoxo, Love etc. You get the idea. We did these for Christmas and they were amazingly easy and we spelled JOY, NOEL, SNOW etc. Endless possibilities.
  This is so easy it's funny how cute they turn out. These are coasters made out of 4 x 4 white tiles that I purchased at Lowes for about 18 cents each. I mod podged wrapping paper to the top of them and then after they dried I sprayed them with a coat of Krylon matt finish acrylic to protect them. If I do them again I would use cardstock scrap book paper because it would be easier to mod podge on the tiles without so many wrinkles. So cute and so easy. What a fun gift for teachers, friends or neighbors at Christmas. After everything is dry you glue felt to the bottom sides to protect your furniture or you can buy thin cork in a roll and put on the bottom. The cork was expensive so I opted for the felt to keep the cost down. Tie 4 tiles together with a beautiful ribbon and there you have it!!
  This was another banner that I made to take to Utah for Kandis. We have been making banners since Christmas and this is just one we did for Valentines day. We did one for Christmas and then one for Thanksgiving and now one for Valentines day. Maybe Easter will be next!!
I have to take a break now from crafting to go help Kandis with her new little baby that will be coming any day now. We are excited to welcome Vann Michael Bennion into the world soon. I will take pictures and of course I will post as soon as I can. Nixon will turn 2 while I will be visiting so the big birthday bash will be a blast to do. Again, I will take pictures and show you all how that turns out.
Our stake was split today and they formed a new Lincoln Stake which we are now a part of. All of Loomis wards and all of Lincoln wards are now the new Lincoln Stake. The new stake President is Mark Perez with Pres Brasier as 1st councilor and Mike Schmidt as 2nd councilor. It will be a great time for change and new beginnings. The church is true and we will miss all the wonderful people we have served with in the Rocklin Stake. Rocklin stake now is comprised of 2 Granite Bay wards and all of the Rocklin wards. Roseville stake is all of the roseville wards only.
Thursday, January 20, 2011
Home made crayons for a birthday party
 These are the bags that my friend sewed for me for the goody bags that will go in galvanized pails for the kids. It will be filled with the crayons that I made and can be used to put special things in when they are done with the crayons.
 These are the crayons that I made with the candy molds. Aren't they cute??? Easy for toddlers to pick up. I just hope they won't eat the brown one thinking it is chocolate.
 I put the finished crayons in a glassine bag tied with bakers twine and then I will put a little sticker that will say crayons on it. I think they are fun!
I will be going to Utah when Kandis delivers baby Vann and so I have been working on things to put on a 2nd birthday party for Nixon while I am there. We really don't know when Kandis will have this little guy so we are going to plan on having a party with or without her around. The theme for the party is Construction trucks so I made some dump truck crayons to put in with the goody pails for the kids to take home. I used a candy mold that I found on Amazon.com and then you can use old broken crayons or you can buy new ones to make them. Just make sure you get good quality crayons because I tried it with some dollar store crayons and it did not work! So bummed to have a big mess and nothing to show for it. You put the broken crayons in an aluminum backing cup in the oven at 250 until it melts completely. Usually takes around 12 to 20 minutes. Take out of the oven and pour into the candy mold and let set. If you want to speed up the process you can put them in the freezer until COLD and then pop them out. So easy and so cute. Can't wait to do it again for another party some time.
Subscribe to:
Comments (Atom)


